
Last Updated: October 24, 2026
Quick Summary
To glaze chicken for crispy chicken skin, cook the chicken with no sauce until the skin is golden and nearly done, then brush on thin glaze layers only in the last 5 to 8 minutes. A glaze is a finisher, not a marinade, so applying it early steams the skin instead of crisping it.
- Dry the skin thoroughly and roast at 200°C in a fan oven on a wire rack.
- Pull the chicken at about 70°C internal, a few degrees short of done.
- Brush glaze in thin coats, waiting 2 minutes between each layer.
- For thighs, score the skin and glaze in the final 6 minutes.
- Never cover the tray with foil while roasting, as steam softens skin.
Table of Contents
- Why Glazing Chicken Goes Wrong (and How to Fix It)
- The Best Temperature for Crispy Chicken Skin
- How to Prevent Soggy Chicken Skin Before You Glaze
- Step 1: Dry, Season and Set Up Your Chicken
- Step 2: Roast or Grill Until the Skin Is Nearly Done
- Step 3: Apply Your Glaze in Thin Layers
- Glazing Chicken Thighs for Maximum Crunch
- Pick Your Glaze and Get Cooking
- Frequently Asked Questions
Why Glazing Chicken Goes Wrong (and How to Fix It)
Most soggy chicken skin is not a glaze problem. It is a timing problem. If you paint a wet, sugary sauce onto raw skin and roast from cold, the glaze steams the skin instead of crisping it. Learning how to glaze chicken for crispy skin comes down to one rule: the skin must be nearly done before the glaze goes anywhere near it.
At Spicy Rye's, we sell glazes for a living, so we have a strong view here. A glaze is a finisher, not a marinade. Treat it like one and the skin stays crisp.
Here is what most guides get wrong: they tell you to baste early and often. That is the fastest route to pale, rubbery skin. The fix is simple:
- Dry the skin thoroughly before cooking
- Cook it almost all the way through with no sauce on it
- Add glaze in thin layers at the very end
The three-step method below covers exactly that.
The Best Temperature for Crispy Chicken Skin
The best temperature for crispy chicken skin is 200°C in a fan oven, or a medium indirect heat on the grill. High heat drives moisture off the skin fast, and dry heat is what turns skin golden and crisp. Low, slow heat gives fat time to render but leaves the surface damp for too long.
A few practical numbers to work with:
- Fan oven: 200°C, skin side up, on a wire rack over a tray
- Grill: medium indirect heat, lid down, chicken away from the coals
- Internal target: 75°C in the thickest part of the thigh
Watch out: if you glaze at this stage, the sugars in the sauce will catch and burn before the meat is cooked. Save the glaze for the final stretch.
How to Prevent Soggy Chicken Skin Before You Glaze
To prevent soggy chicken skin, remove every bit of surface moisture before the chicken hits the heat. Water on the skin has to evaporate before browning can start, and a wet glaze adds more water back in. Dry skin is the whole game.
Our checklist before cooking:
- Pat the chicken dry with kitchen paper, inside and out
- Leave it uncovered in the fridge for an hour if you have time
- Skip the wet marinade on skin-on pieces
- Use a wire rack so air circulates underneath
- Never cover the tray with foil while roasting
A common mistake is crowding the tray. Packed pieces trap steam, and steam is the enemy of crunch. Give each piece room and the skin will thank you.
Step 1: Dry, Season and Set Up Your Chicken
Start by drying the chicken properly, then season the skin itself rather than the meat under it. Salt draws out moisture, so season and let the surface dry again before cooking.
Here is how we set up:
- Pat the chicken dry and salt it lightly.
- Apply a dry rub, working it under the skin where you can.
- Rest the chicken uncovered for 20 to 30 minutes.
- Place it skin side up on a wire rack over a baking tray.
For this step, a chicken-specific blend does more work than a generic spice mix. Our Secret Chicken Seasoning is built for exactly this: smoky paprika, lemon zest and herbs that sit on the skin and crisp up nicely. If you prefer to mix your own, our dry rub recipes for roasted chicken give you several starting points.

Step 2: Roast or Grill Until the Skin Is Nearly Done
Cook the chicken with no glaze at all until the skin is golden and the meat is almost there. For thighs, that is roughly 30 to 35 minutes at 200°C. For a whole spatchcocked bird, nearer 40 to 45 minutes. Judge by colour and internal temperature, not the clock alone.
You are looking for:
- Deep golden skin with no pale patches
- An internal reading of about 70°C, a few degrees short of done
- Clear juices at the thickest point
This is the moment to move. The chicken finishes cooking while the glaze sets, so pulling it early stops the sauce from overcooking.
Step 3: Apply Your Glaze in Thin Layers
Brush the glaze on in thin layers during the last 5 to 8 minutes of cooking. Thin coats set quickly and build a sticky shell. One thick coat pools, steams and softens the skin you worked for.
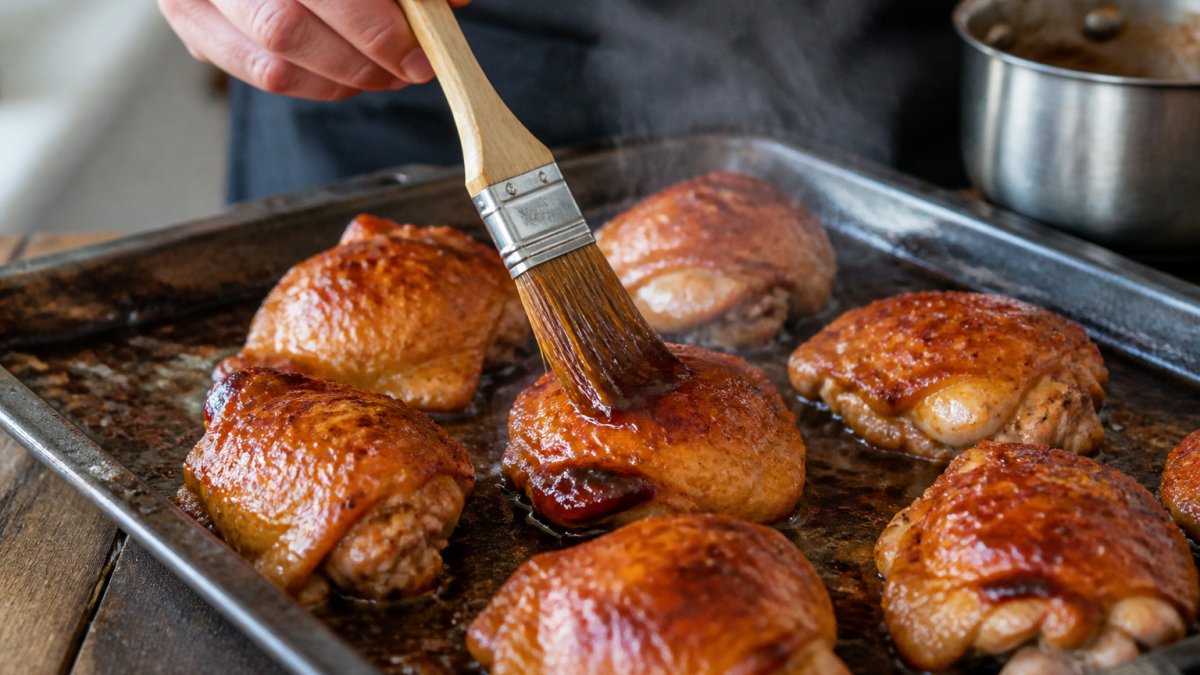
Our method:
- Brush on a light coat, close the oven or lid, and wait 2 minutes
- Add a second thin coat and give it another 2 minutes
- Stop once the glaze is glossy and tacky, not wet
Watch out: honey-heavy glazes catch fast under a hot grill. Keep the chicken on the middle shelf and watch it closely for those final minutes.
Glazing Chicken Thighs for Maximum Crunch
Glazing chicken thighs for maximum crunch means scoring the skin and cooking them skin side up on a rack. Thighs have more fat and a looser skin than breast, so they crisp well if you let the fat render before any sauce arrives.
Our approach for thighs:
- Score the skin lightly with a sharp knife
- Roast skin side up at 200°C for 30 to 35 minutes
- Glaze in two thin layers in the final 6 minutes
- Rest for 5 minutes before serving
The skin stays crisp under a thin glaze because there is very little liquid on the surface. A heavy pour undoes all of it.
Pick Your Glaze and Get Cooking
The right glaze balances sugar, acid and heat so it caramelises without turning bitter. Too much sugar and it burns. Too much acid and it stays runny. Our range is built around that balance, and each bottle works as a finishing glaze.
A quick guide to matching glaze to method:
| Glaze | Flavour | Best For | How to Apply |
|---|---|---|---|
| Bourbon & Honey BBQ Sauce | Smoky, sweet | Roasted and grilled chicken | Two thin coats, final 6 minutes |
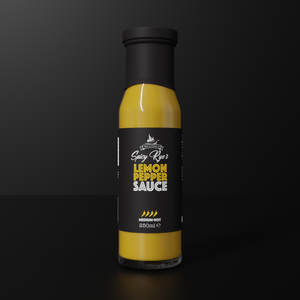
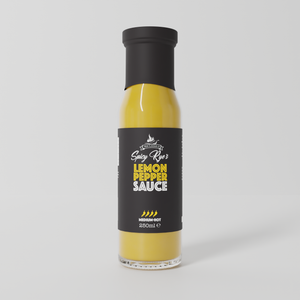
| Honey & Lemon Pepper Sauce | Sweet, tangy, peppery | Roasted chicken and thighs | Brush on, 2 minutes per coat |
| Hot Honey Pepper Sauce | Sweet with heat | Grilled chicken and wings | Thin layers, watch closely |
Our Bourbon & Honey BBQ Sauce caramelises beautifully on roasted chicken and grills. If you want something brighter, the Honey & Lemon Pepper Sauce brings lemon and pepper that cuts through rich dark meat. For heat chasers, the Hot Honey Pepper Sauce gives a sticky, spicy finish that works in thin layers.


For guidance on safe cooking temperatures, the Food Standards Agency guidance on cooking poultry is the source to check.
Frequently Asked Questions
Should you glaze chicken before or after cooking?
Glaze after the skin has already crisped, not before. Sugary glazes burn before the chicken is cooked through, so brush them on in the last 10 to 15 minutes of roasting or grilling. If you want flavour deeper in the meat, season or marinate first, then glaze at the end for that sticky, lacquered finish.
Why does my chicken skin go soggy when I add glaze?
Soggy skin usually comes from glazing too early or using too much liquid. A wet glaze traps steam against the skin, so it never crisps. Pat the chicken thoroughly dry, roast it on a rack so air circulates, and brush on thin layers of glaze only once the skin is golden and nearly done.
Can you use Spicy Rye's sauces for glazing chicken?
Yes. The Bourbon & Honey BBQ Sauce (£6.95) caramelises well on grilled chicken, while the Hot Honey Pepper Sauce (£6.95) gives a sticky sweet-heat finish. For a dry rub base, the Secret Chicken Seasoning (£7.95) works well before roasting, and the Honey & Lemon Pepper Sauce (£6.95) is ideal brushed on in the final minutes for a tangy glaze.
Does patting chicken dry help with crispiness?
It makes a real difference. Moisture on the skin has to evaporate before browning can start, so drying the surface with kitchen paper gives the skin a head start. For the crispest results, leave the chicken uncovered in the fridge for an hour after patting dry, then season and roast at a high temperature.
Crispy skin with a proper glaze takes a little patience and the right bottle. We make glazes that caramelise cleanly and hold their flavour, so the final step is the easy one. Get started with Spicy Rye's and finish your chicken with a glaze that crisps instead of sogs.